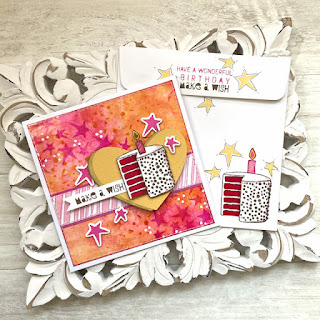
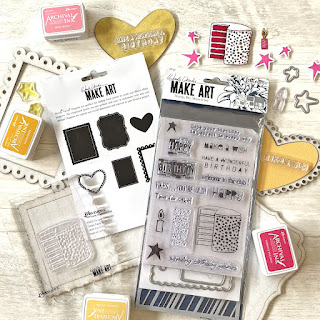
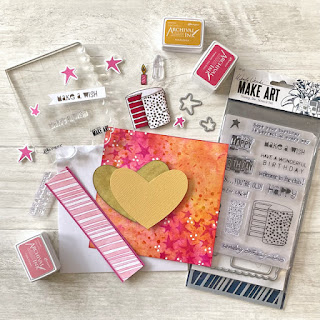
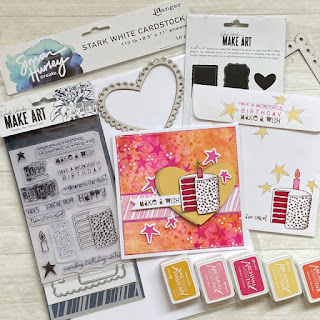
I'm so happy to be back on the Ranger Blog with a brand new, super-colorful project featuring Wendy Vecchi's MAKE ART Birthday Bash Stamp, Die and Stencil Set and Chippies embellishments. See how I made this vibrant inky background with Wendy's signature series Archival Inks in analogous shades of pink, yellow and orange; topped off with my all-time favorite cake... Red Velvet! On the Ranger Blog today... just click this link!
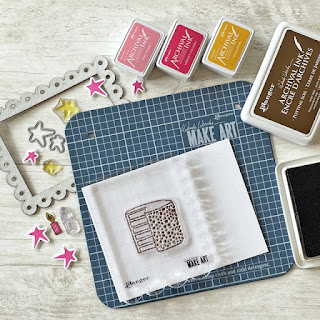
Step 1: Gather your supplies, including Wendy Vecchi MAKE ART Birthday Bash Stamp, Die and Stencil Set; Wendy Vecchi MAKE ART Bases and Frames Chippies; plus assorted Archival Inks in analogous shades of pink, yellow and orange; rubbing alcohol and white Yupo Cardstock; plus your favorite coloring media.
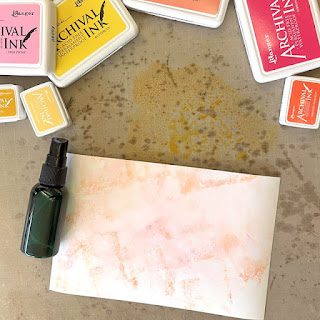
Step 2: Working on a Ranger Silicone Mat or other non-absorbent surface, "smoosh" one shade of Wendy Vecchi Archival Ink onto the mat by turning the ink pad upside down and randomly applying a bit of color directly to the work surface. Lightly mist the area with Isopropyl Alcohol (91% is ideal but 70% also works fine) then place your cardstock face down on the mat and "grab" some of the color. It's best to apply shades individually, to avoid staining your ink pads. To use multiple colors at a time, dispense a few drops from several Archival Reinkers, remembering that the pigment is much more concentrated, and you might want a bit more alcohol to dilute it.
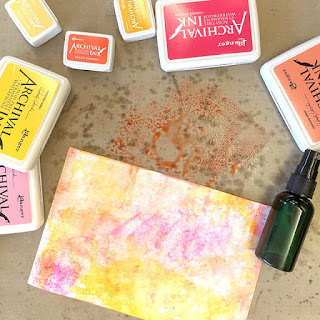
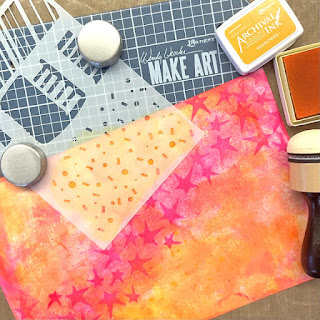
Step 3: Wipe the mat, apply another color, mist with alcohol, and dip your paper into the diluted ink. Change directions with the paper a few times for better coverage. Repeat this step as many times as you'd like, or until the entire paper is covered. This card features shades of yellow (Buttercup and Chrome) and orange (Tea Rose and Bright Tangelo) at the edges, with a patch of pink (Pink Peony and Vibrant Fuchsia) towards the center.
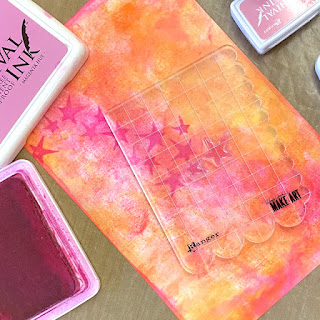
Step 4: Using the two solid stars in Wendy's Birthday Bash set, stamp them randomly, over and over, in Magenta Hue Archival, concentrating on the diagonal area of pink towards the center of the paper.
Step 5: Using the confetti stencil from the Birthday Bash set, apply Sunflower Archival, starting towards the center of the inky panel and working outwards. Move the stencil several times and change position as needed to achieve a pleasing arrangement of confetti.
Step 6: Stamp the Cake, Candle and "Make a Wish" sentiment in Potting Soil Archival. Color the cake and candle with markers and/or pencils in a style that represents your favorite type of cake (the sample is Red Velvet, with Cream Cheese Frosting) and diecut or fussy-cut. Stamp the two solid stars multiple times in Vibrant Fuchsia, and use the coordinating dies to cut them out. Mount the images and sentiment on foam adhesive and set aside.
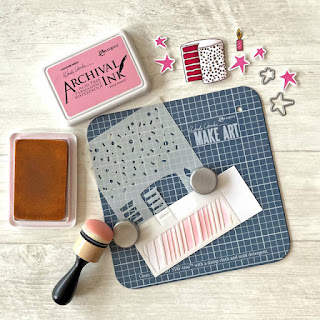
Step 7: On a scrap of Wendy Vecchi Perfect Cardstock, apply Pink Peony Archival Ink through the striped portion of the coordinating stencil in the Birthday Bash set. Add darker stripes with a fine-tipped pink pen, if desired. Trim the strip to 5.5 x 1" and adhere to a skinny mat of Magenta cardstock.
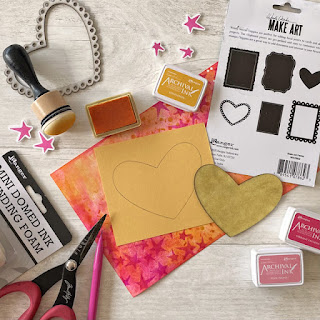
Step 8: Using a Ranger Domed Ink Blending Foam, apply Sunflower Archival to the Heart from Wendy Vecchi's MAKE ART Chippies Bases and Frames set. Trace the heart on a piece of coordinating Sunflower cardstock and cut out. Adhere the cardstock heart to the Chippie, slightly offset, using Perfect Card Adhesive.
Step 9: Assemble the card: Trim the inky panel to 5" square and ink the edges lightly with Magenta Hue. Add a few scattered dots and doodles with a white paint pen, if desired. Affix the stripey stenciled strip to the base with Perfect Card Adhesive, approximately 1.5" from the bottom of the panel. Add the Chippie Heart to the strip using double stick tape and add the cake, candle, sentiment and stars in a cluster. Affix the finished panel to a 5.5" square card and machine stitch around the edges, if desired.
Step 10: Decorate an envelope to match, using the stamps in the Birthday Bash set and coordinating colors. This way you'll be ready to mail the finished card to your favorite Birthday Girl or Guy!