Sunday, January 31, 2016

random collages...

...with the emphasis very definitely on "random" lol! one of the main things for which i use my sketchbook is as an art lab, to try out ideas; or even the glimmerings of notions that aren't quiiiiiite ideas yet. many of my sketchbook pages stall midway through, but some get added to the next day, or the next week and eventually turn into something cool.


this one with the eye was inspired by a few photographers i follow on instagram; there were a bunch of really cool photos of poster walls, in various cities, with layers and layers of advertisements glued randomly on top of each other, often there'll be a face peeking out from the layer at the very bottom. i definitely didn't capture the look i was going for here, but i had fun, and it's an idea i want to play with more in fututre. here's another take on the poster wall, without a face, but with some duct tape instead! this one really REALLY didn't "gel" into what i was trying to do. at all. in fact it's impressively... almost gloriously... wrong!


many of my sketchbook pages never turn into anything good, and i'm ok with that. some get abandoned entirely, or covered by a collage later. i used to try out ideas on scratch paper or toss away things that didn't work. but i'm converted to the "bound book" idea by the fact that it gives me a visual reminder of what i've already tried, and a record of how i've improved. in the page below, the numerals were inspired by an art journal page i saw online. the mandalas are an experiment: i spread white modeling paste thru a stencil onto deli paper, then sprinkled blue and green colorburst powders randomly on top, mixing them very minimally so i'd get a sort of multicolor effect. it ALMOST works. (almost!!!) but again, having it in my book reminds me that i still like this idea, and it's worth pursuing.


this last collage evolved over a few weeks: i used up some yellow and orange colorburst for the first layer. later i added the sticky backing from some round stickers. before and after there were little bits of modeling paste and some scraps of sheet music to be finished up. at some point in the middle, i got a roll of mesh tape at home depot that's kind of fun to play with. finally i won a prize pack with vintage postage in it, so those are on the top.
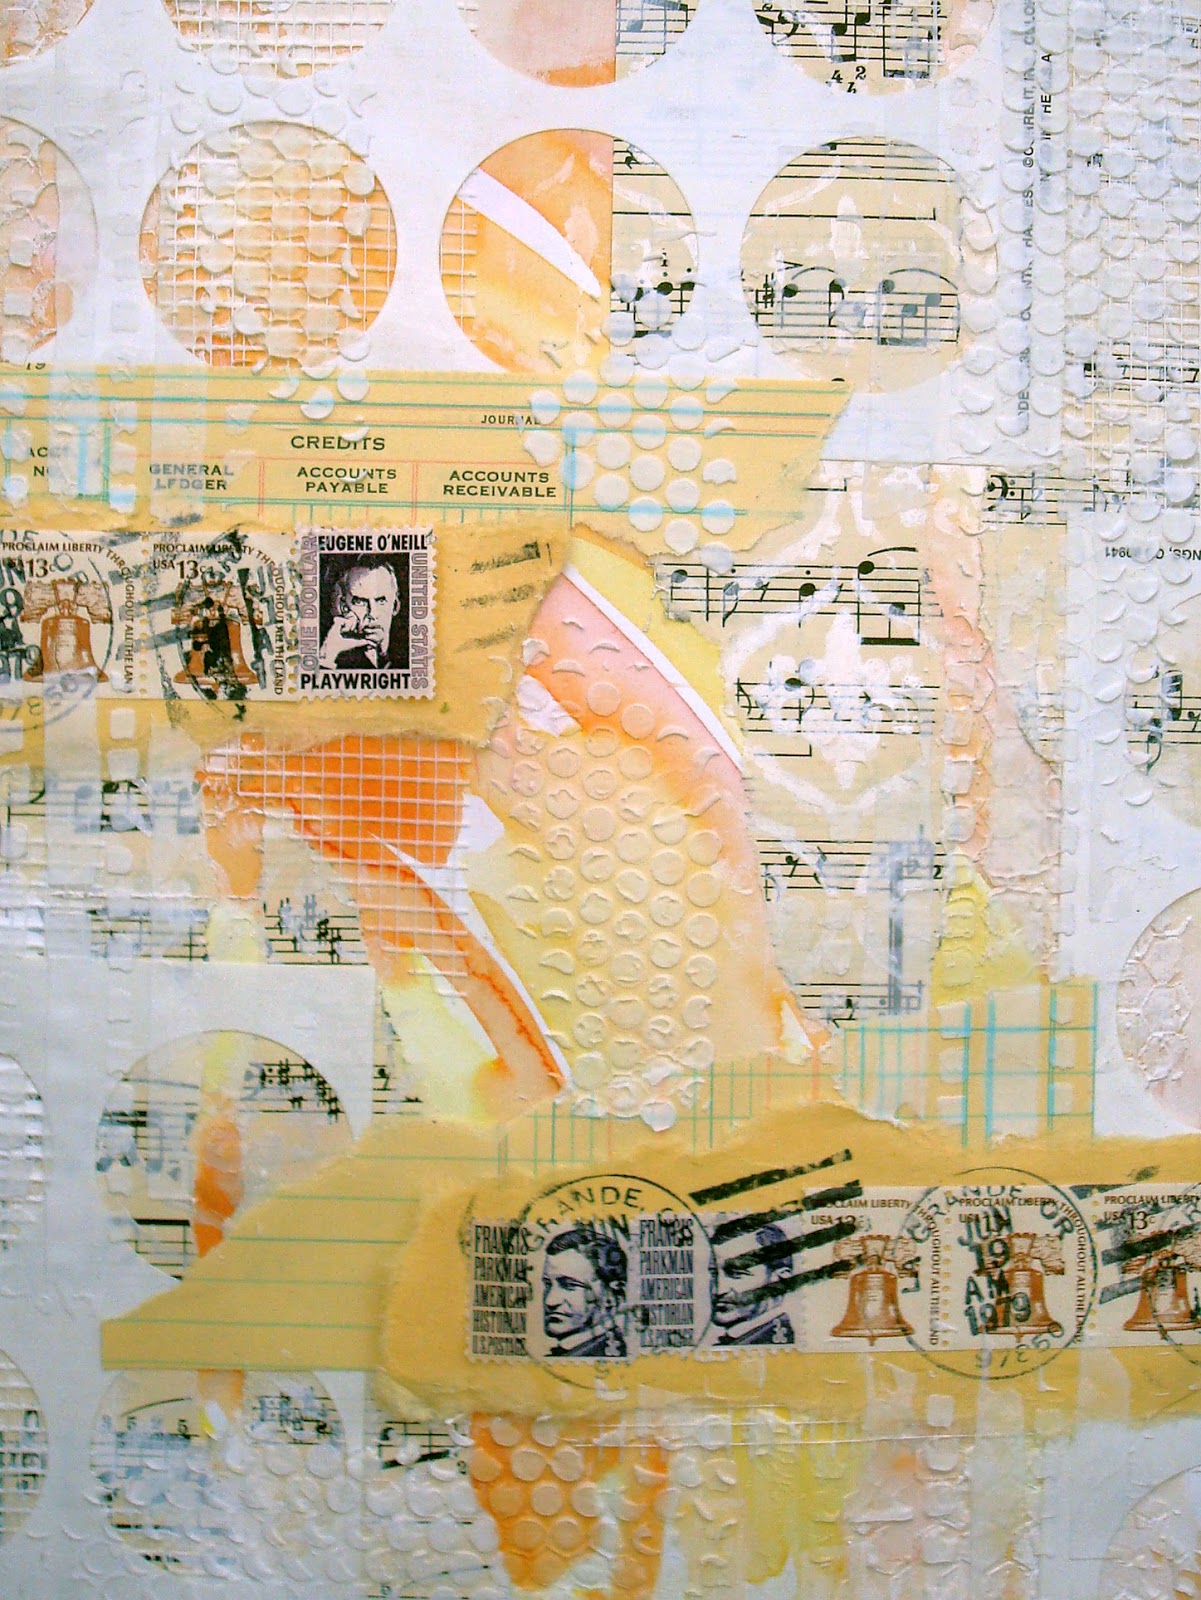

do any of these count as "ART"?!  ummmmmmmm... probably not. :) but they were fun to make, and they all taught me something. admittedly, sometimes the "something" was, "i'm never doing that again" lol! i like having these around, though. even the ugly stepsisters. maybe even especially the ugly stepsisters. why? because the more experiments you try, the less attached you are to any one thing. how can you be afraid of "failing" when your failures are fun and interesting and occur a few times a week. they're part of the process... and my sketchbook still has lots more pages left! ♥♥♥

Friday, January 29, 2016

bling it on!

this fortnight at ♥JINGLE BELLES♥ it's time to "bling on the holidays" so we're making cards that feature jewels, gems, beads, sequins, pearls, glitter, stickles or, if you're *me* very possibly ALL of the above, lol; but for ordinary cardmakers who are NOT part magpie, pretty much anything sparkly will work! 

patterned paper: elle's studio, echo park; journal card: elle's studio; glitter thickers, white glitter paper and pearl brad: american crafts; bling frame: mambi; felt snowflake: michaels; adhesives: elmer's glue tape runner, 3m foam tape, sewing machine

as you know, i've never really met the sparkly embellishment i didn't love, so i've used a few different ones here: i've got a (smallish) rhinestone frame that i cut apart to use like photo corners; i've got a pearl brad; i've got a glitter snowflake (you can't really tell from the pic, but it's glittery, honest!) and my very very all-time favorite thickers, which are not just candy-striped, but also GLITTER ENCRUSTED!!! i'm not sure there's as much bling in one place anywhere outside the las vegas city limits! :)

i used the current retro sketch (#199) for my layout:


over at ♥JINGLE BELLES♥ there's a lovely blingy card by stephanie; why not hop over and see it whilst planning your own bid for bling-based supremacy? ♥

Tuesday, January 26, 2016

all the best cards are inspired by great literature... obviously... :) :) :)

ok, possibly not ALL the best cards, but this week at shopping our stash we're making cards "inspired by a book". this turns out to be a lot of fun AND a fabulous source of ideas, so won't you join us? as an antidote to the extreme winter weather we on the east coast endured over the weekend, i decided to base my card on elizabeth von arnim's "the enchanted april", so i assembled me some blue skies, green fields, sunshine, and fluffy clouds:

patterned paper: prima, mme, recollections, crate, making memories; hot air balloon and sentiment stickers: echo park; leather flower sticker: k and co; glossy white cardstock: paper accents; cloud and circle punches: ek success; ink: colorbox; adhesives: elmers brand gluetape, 3m foam tape, sewing machine

i also went for some texty papers, to enforce the "literature" vibe, lol. i'm not entirely sure where the hot air balloon came from. it must've drifted in from an extra copy of "around the world in 80 days" i left laying around. ya gotta be careful about stuff like that; books are POWERFUL, you know! :)


another fabulous source of cardmaking inspiration is the sketch saturday blog, where this week's layout looks a bit like this:


of course, my fellow SOS dt members are rockin' it once again this week, so you should really hop over and check it out, before heading to your bookshelves and then your craft supplies, darlings! ♥

Sunday, January 24, 2016

yep... it's a diptych!

ok, i promise this is the last post about the really big canvas! technically speaking, there are now TWO really big (30x40") canvases (canvi? ok, nooooo), but thanks to my OCD nature and some extra, blizzard-enforced home time, they're both finished. and hanging in the sun room. and i'm pretty happy about that! :)


last week i was actually half joking about doing a second panel. honest! i mean... i did think the first one was a bit undersized, but i thought i could probably live with it. then on monday i had to run in to michaels for something, and i thought i'd just see what OTHER sizes of canvases they had, because maybe i'd do a couple of smaller, stacked panels, or... well... something. as it turned out, i had serendipitously lucked into another 50% off canvases sale. which seemed like A SIGN. quite possibly a sign that i am a crazy person, but that still counts, doesn't it??


i knew i wanted the two panels to be ONE piece of art. if that makes sense? so i knew that the largest mandala, which runs off the right hand side of the first canvas, would need to be continued on the left hand side of the second canvas. i also suspected that this would be the fussiest and most difficult bit of the whole project. and i was right about that. 


on the other hand, almost everything else about this was easier than the first one, because there was no "discovery phase" in which i had to figure out what worked and didn't work, which colors to use, etc. so in some ways it was less interesting to accomplish, but it went faster. and i deliberately worked as quickly as i could, to ensure i didn't get bored or distracted and not finish. (every once in a while being totally compulsive REALLY PAYS OFF, lol!) 

once again, the hero of the day was lovely husband jeff, who removed and spackled the original mounting, and then held BOTH canvases in position while the less competent member of the team hemmed and hawed about heights and widths and things. he accomplished all of this without cursing... at least not out loud... which i think is worthy of a second and even more impressed shout-out, lol. it was quite a bit of extra work, but when i see how well the two panels fill that wall, and how vividly those bright colors light up the room, it feels totally and completely worth it. thanks for coming along on this little adventure... i'll be back to ONE post about smaller things now, i promise! ♥♥♥

Friday, January 22, 2016

oh (blendy watercolory) christmas tree(s)

we're still trimming the tree ...or trees, plural... at ♥JINGLE BELLES♥ for the second week of our "oh christmas tree" prompt. why not get a jump on your holiday card production with us this year? it'll be fun, i promise! this week i've used scraps of watercolor paper i've painted with colorburst pigment powders and a brand new tiny tree die to make a little winter scene:

snowy transparency: hambly (OOP, obviously...sigh...); patterned paper: rhonna farrer/autumn leaves (also no longer available, sorry); tape: october afternoon; sentiment: SRM stickers; glossy white cardstock (for faux-laroid): paper accents; glitter paper: american crafts POW (which is BY FAR the best glitter paper ever, especially for diecutting... even with uber-thin dies!); trees, sky and sentiment flag are strathmore watercolor paper scraps painted with ken oliver's colorburst powders, then die cut or trimmed into shape; tree die: echo park; ink: colorbox; adhesives: elmers brand gluetape, 3m foam tape, sewing machine

i've also used one of my few remaining holiday hambly (ohhhhhh how i miss you!) transparencies to make a clear card base, and the current sketch saturday layout (#395), which is particularly fab, imo:


my favorite way to use colorburst is to put a little bit of each color powder into a deeply welled palette, add a few drops of water, and then use them like ordinary watercolor paints. (except, of course, that they ARE NOT ordinary; they mix soooooo beautifully, they leave no residue of binder, and you can make them darker or lighter just by changing the amount of water you add!) but this means that when i'm done painting whatever i was painting, there's usually a little bit of one or two colors left, which you can't store, but it'd be a pity to toss out. so generally, i grab one of the offcuts of watercolor paper i keep with my kit, and paint the excess onto it. sometimes i blend the colors, sometimes i make shapes, or swooshes, sometimes i just paint it on randomly. and then i save all the little panels to be backgrounds or diecuts or... well, whatever... :)


in this case i've used one panel of stripey green on which i tried to make as many color variations as possible to diecut my tiny trees; and part of a panel with a blend of blues and purples, onto which i sprinkled a bit of kosher salt whilst it was wet, to get that cool crystalline effect... which is what makes my background "sky" and the little flag with the sentiment.


need a little more inspiration? there's plenty of it over at ♥JINGLE BELLES♥ in the form of a brand new card from stephanie as well as our glorious readers' gallery of "oh christmas tree" cards! it's worth the trip, darlings, honestly! ♥

Tuesday, January 19, 2016

SOS235: 3...2...1!

it's a recipe challenge at shopping our stash this week, i love those, don't you? it's kind of a modified version, though, for maximum flexibility. we're calling it "3...2...1" because we want to see (sorry if this is obvious!) three of something, plus two of something, plus one of something. does that make sense? let me clarify by showing my own card, which has three flowers, two patterned papers and one hand-painted cuppycake:

patterned paper: dcwv, recollections; glossy white cardstock: paper accents; florals: prima, making memories; brads: recollections, mme; cupcake painted with artist's loft watercolors on strathmore paper, outlined with faber-castell pitt artist pen in xs nib; ink for edges: colorbox; adhesives: elmers brand gluetape runner, 3m foam tape, sewing machine

i'm jumping in just under the wire on the fusion 2nd anniversary challenge (happy birthday, you guys!) because --as always-- they've got a fab sketch and a cool inspo pic, and i was able to use both, so this was the quickest card of the year, lol!


need more inspiration? b/c the SOS design team is rockin' it... but then... they always do, darlings!

Sunday, January 17, 2016

hey that's a really *BIG* canvas!

there's a wall just inside the main entrance of our house. it's a slightly larger-than-normal-foyer sized room; the previous owners of the house called it the "sunroom" so we do, too. for which i've been looking for a *BIG* piece of original art. over the course of like... two years? and i still hadn't seen anything i was absolutely in love with. so the wall was just empty. which is a bit sad.


last summer when michaels had *BIG* canvases on sale for 50% off, i thought, "well maybe i'll make a big collage as a stopgap" and bought one that was 30x40". and it just sort of sat in my art lair. mostly due to a lack of time, but partly because i wasn't really sure what to do.


flash forward to new year's eve: we were staying home... i was caught up (well, relatively) on assignments... i was feeling brave in the sort of resolutionary way one does feel brave on the threshold of a BRAND. NEW. YEAR. and i thought, "all righty then. let's do this!" so i started.

 
bear in mind... i still didn't really have a plan, as such. i'd settled on collage because, frankly, it's my comfort zone. and a 30x40" canvas is  *BIG*. also, i have quite a few "treasures" in my stash of vintage paper; things that i've been saving because i couldn't quiiiiiite bear to use them in something that'd be sold or given away. which is what i do with nearly all of my non-sketchbook work.


meanwhile, back when i was looking for pre-made art, i'd been thinking in terms of eastern or indian... but not necessarily religious. i quite liked the idea of color in the sunroom. soooo... landscape? ...ummmmm... or flowers? ...maybe... or ooooooh--mandalas?! yeah! ok, colorful mandalas. i can do that. my first idea was make the mandala sections out of different sorts of paper. so i played around with that in my sketchbook over the summer and it was frankly a bit tedious. because without a template you lose the precision of form pretty fast. and with a template, it's just kind of... well... dull. plus, as i may have mentioned, the canvas is *BIG*. which means the mandalas have to be big. and that was where i stalled.


but on new year's eve i suddenly thought: ok, i'll do a big random vintage paper background, and PAINT the mandalas on top. so what kind of paint? acrylic? but then you lose the look of the paper underneath. which i thought would be ok, until i fell in love with my background, as collage people sometimes do. :0 right then, i need translucent paint: gouache? watercolor? it looked good. but it was wet. and some of the vintage paper was a bit fragile, so i was not going to get a chance to re-work anything. which might be a problem. meanwhile, in the autumn, i'd been playing with the idea of layers of vintage paper under stenciled distress ink and/or modelling paste and/or both. and i'd liked the look. but you can't color a whole big canvas full of mandalas using distress ink on a fingertip applicator. can you??!


yep. you can. i did. and i love it! (...she said modestly...) ♥


the whole thing took about ten days. ten totally obsessed, rushing through chores, can't-wait-to-get-home-and-work-onnit days, or more accurately, nights. some of them pretty late nights. unusually for me, i never got stuck. there were times i wasn't sure what to do next, so i'd stall by finishing up whatever section i was working on, and adding detail, or going over the outlines or adding texture. but by the time i got to where i had to make a decision, i knew what to do. there were a few corrections made along the way. and a massive "retrofit" of paper around the sides of the canvas when i realized that the blank edges were gonna look WEIRD unless i wanted to spring for a very big frame. which i didn't.


lovely husband jeff helped me hang it. or rather, i helped him. though by "helped" of course i mean, "stood in the same room, at the same time, but not doing much of anything useful". (if you ever need that kind of "helper" i'm awesome, and i'm pretty sure LHJ would be willing to spare me, lol!) at the risk of being totally immodest, i'll repeat: i love how this came out! but somehow, when you see it hung in place, it's not allllllll that big, is it? maybe it's the first half of a diptych???!? :) :) :)