
what you'll need, or rather, what i used in this example: flat brushes in several sizes, color burst pigment powders in fuchsia, tangerine, alizarin and gamboge (or ANY group of analagous colors* you like), water, watercolor paper, selection of black permanent ink pens and a heat gun... OR... the patience to allow paint to dry between steps--which i soooooo totally do not have, lol. but this is a really flexible idea, so use your favorite supplies and make it your own!

step one: choose a direction, a brush and a color. paint lines in that color, spacing them evenly across your paper in one direction. I like to work on the diagonal because it's more dynamic, more interesting, and when my lines get a little wonky you don't notice quite as much.

step two: choose a different color and a different size brush, and paint a series of lines that run perpendicular to your first set. it's kind of important (imo!) to alternate between directions, so that your paint lines cross each other. and now you know why i said to pick analagous* colors... because even if your first lines are BONE DRY when you start the second set, you will still drag a bit of the pigment away as you cross over them. to me, this actually looks really cool and once you get used to it, you'll like it, but if you choose red and green as your paint colors you will wind up with brown everywhere they cross each other... (which, hey--might look good?)

step three: repeat step two until you have a plaid pattern that you like... OR your paper is full... whichever comes first.


step four: add pen details. I suggest using a couple of different nibs of black permanent ink pen. I like a super fine point, an extra superfine point and maybe a medium or a 1.5mm bullet tip. my personal favorites are the pitt artist pens by faber-castell, but use whichever brand you like best. again it's important to alternate between directions and to let some lines appear to go over and some to go under various blocks of color to get a woven effect.

when you're all finished, you might well wind up with something that looks a bit like this:
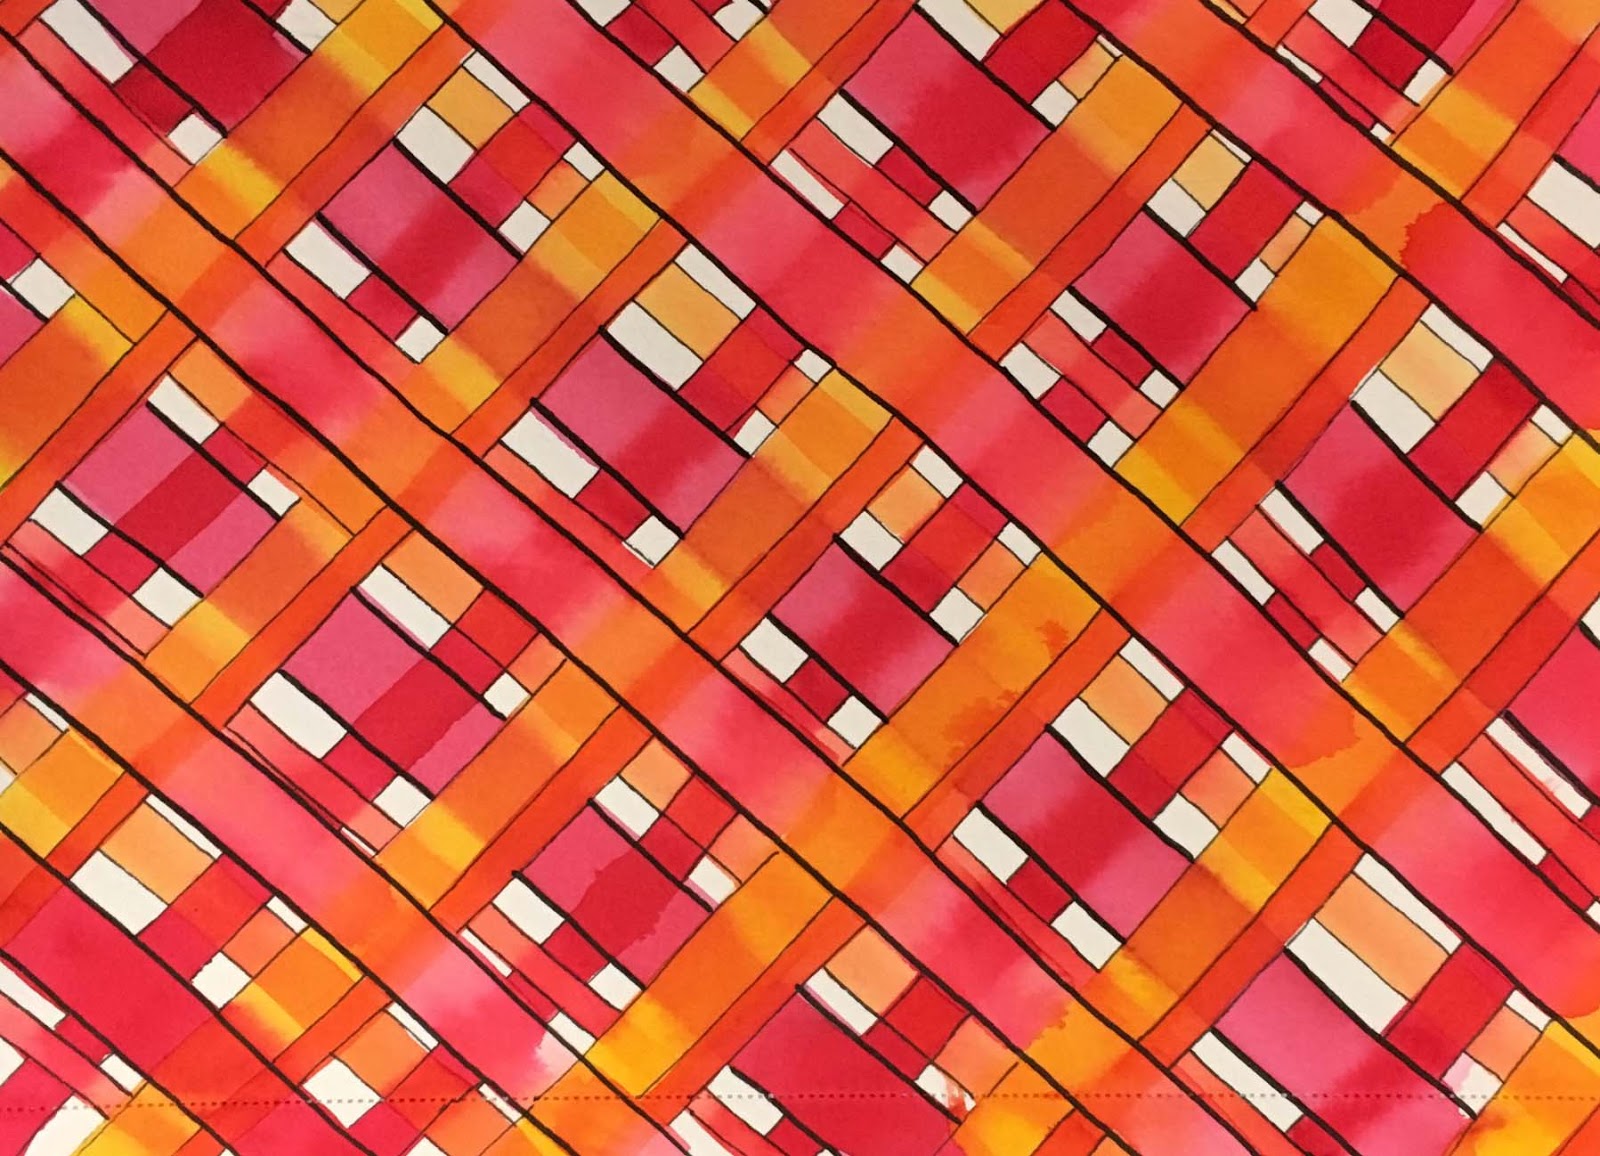
i hope you'll be inspired to paint your own wonky plaids... or wonky stripes, wonky dots, wonky text patterns... whatever fun and unique patterns your creative mind can dream up! ♥♥♥
*because we'll be painting layers, and because watercolors re-activate and blend when you cross dry lines with a wet brush, I STRONGLY SUGGEST choosing three or four colors that are next to each other on the color wheel, such as: red, orange and yellow; yellow, green and blue; blue, purple and red, etc; if you're using media that won't blend after it's dry (such as acrylic craft paint) you can probably get away with a lot more variation!
No comments:
Post a Comment
the *BEST* part of blogging is the comments, dontcha think? thanks for taking time to leave one! ~♥~