

what you'll need:
a piece of paper that is at least 1" greater than twice the height of your card, and 2" wider than the width of your card; scissors and/or trimmer; ruler; pencil; dry adhesive-- a tape runner is ideal for this!; optional coordinating patterned paper for lining, if desired.

1. mark
the points just outside all four corners of your card on the paper that will serve as the outside of your envelope (i've done big dots so you can see them, but you can do it lightly, so it won't show).
2. score and fold
straight, parallel lines between the two marks at the top, and between the two marks at the bottom; trim any excess paper if necessary--note that you need the top and bottom folds to overlap by about an inch, and you'll need about an inch extra at each side to create your pocket.
(optional step: if you'd like your envelope to have a coordinated liner, trim a piece of patterned paper to exactly the width of your card and the same length as the distance from the bottom fold to 1/2" before the end of the top flap--see photo below for a better illustration of this; adhere to your base paper before continuing)

3. snip and fold
the overlapping edge bits at each side of your center panel, these are the base of the "pocket" which will hold your card; angle the cuts very slightly inwards, to keep them out of the way of the fold.

4. trim the excess from top and bottom panels
again you'll want to create a slight angle; as the bottom panel will become the pocket itself, while the top will be the envelope's flap. again, for illustrational purposes i've marked thick pencil lines: you can see that they both taper very slightly inwards so that the outer edges are about 1/16th of an inch narrower than the attached edges. this is just so your envelope will be square and not have any "extra" overhanging paper.

5. CAREFULLY glue ONLY the left and right edges...
...of the bottom panel to the little folded bits on each side; you don't want any extra adhesive, otherwise you'll be gluing the pocket shut. (which will not be helpful!) :)

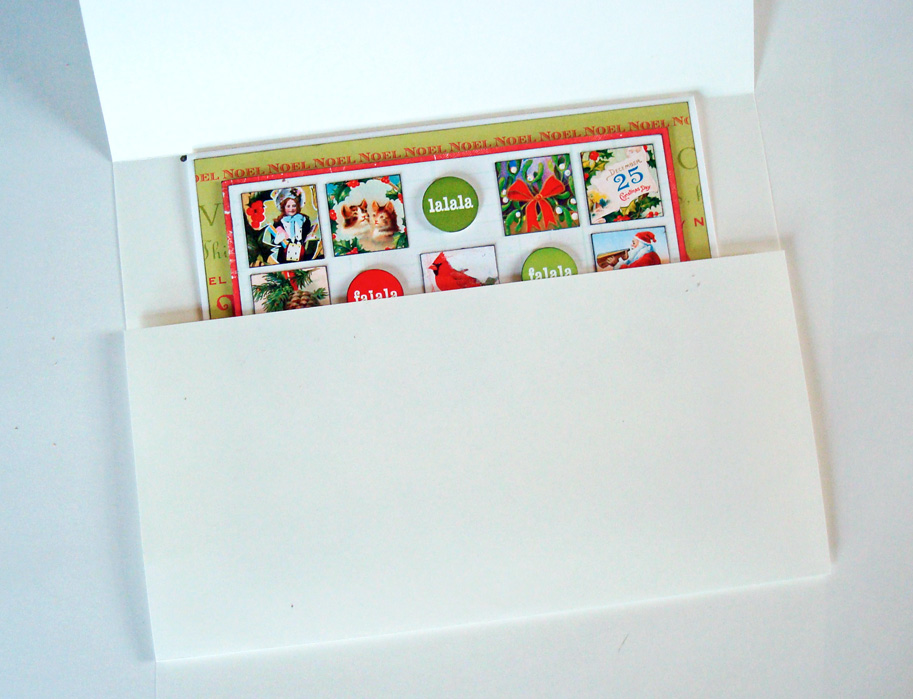
6. slide in your card and ADMIRE your work!
after all, you've not only created the perfect envelope for THIS card, you've learned how to make a custom-sized, coordinated mailer for ANY card... without templates, or even any measuring... just a few folds!!!
after all, you've not only created the perfect envelope for THIS card, you've learned how to make a custom-sized, coordinated mailer for ANY card... without templates, or even any measuring... just a few folds!!!
♥GO, you!!!♥
Brilliant!!!!!!
ReplyDeleteHey... Its nice design may be we save a lot of time and money to buy custom gift card envelope.
ReplyDeleteMakes me want to dig out my Art Chix and play this weekend ... I love what you did with these ... awesome.
ReplyDeleteAwesome! Thanks for this!
ReplyDeleteI need to make more envelopes. Badly. This a really good idea to use up old Christmas pp that you don't really care for anymore too. Love the card SO much. Gorgeous!!
ReplyDelete